Time: Enter Time Worked - Hourly Employee
INTRODUCTION
Employees are encouraged to enter their time daily or at the end of each week. At the end of the pay period, the full timesheet will be submitted.
This job aid covers different Employee time entry topics: 1) Enter Time Worked; 2) Quick Add Time; 3) Enter Time for Multiple Positions 4) Report an Absence Taken; 5) View/Update Your Time Entry.
ENTER TIME WORKED
- From the Home Page on the left side, click the Personal and Time.
- Under the Enter Time column, select This Week.
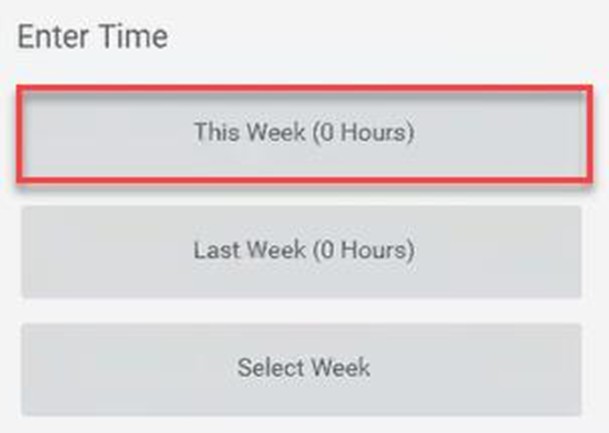
Note: Entering time for This Week will be the most common practice. The Last Week option will be used to review or correct previous time reported; the Select Week option will allow you to enter a specific date to view in the calendar. The calendar will open. In the top left are arrows to easily navigate to different weeks in the calendar. In the top right are real-time calculations for the time you have entered: Regular, Overtime, Overtime 2X, Paid Time Off, Meal Penalty, Comp Time (if applicable), and Total Hours.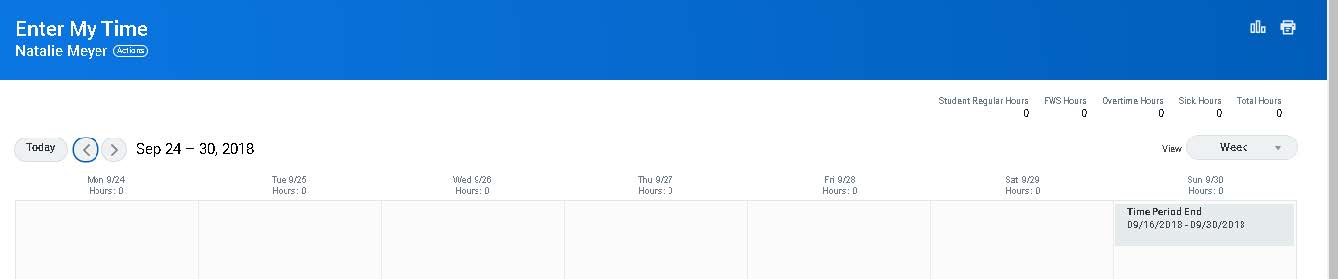
- Click the day in the calendar for which you would like to enter time.

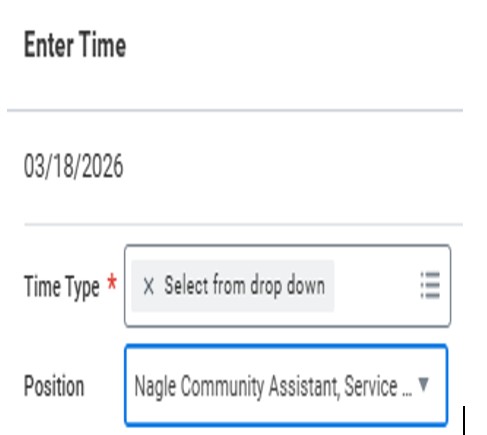
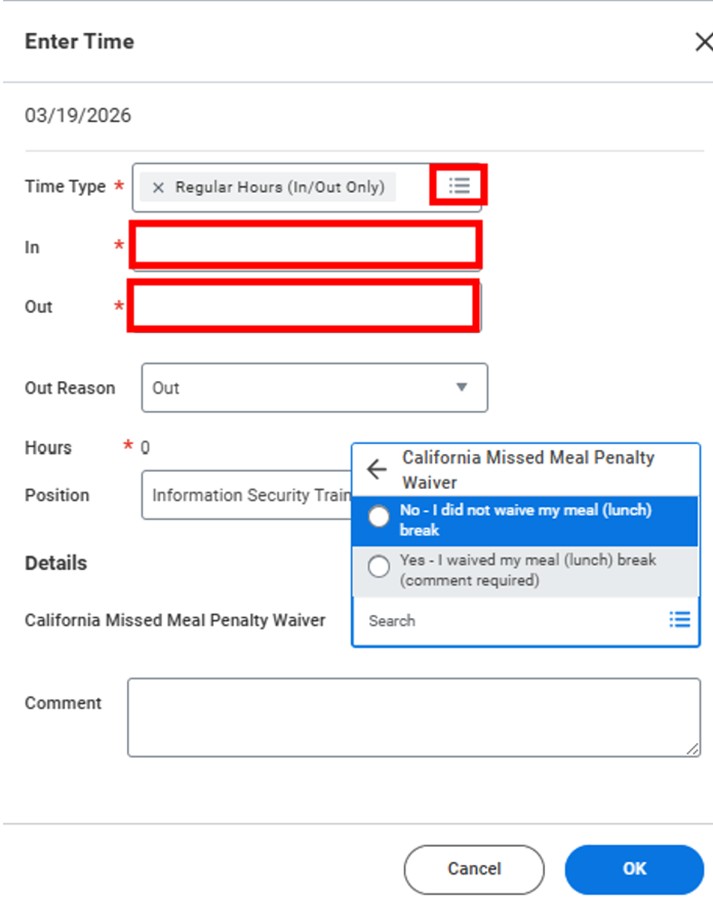
- In the Enter Time box, click the Time Type drop-down and select the appropriate Time Entry Code. You will only see Time Entry Codes available for your position. Note: You may need to click the dropdown menu under ‘Position’ when entering the job you worked.
- Enter the In and Out times for each time you begin and end work including in and out for lunch breaks. Enter in and out for lunch, then enter time back in from lunch and out for the day.
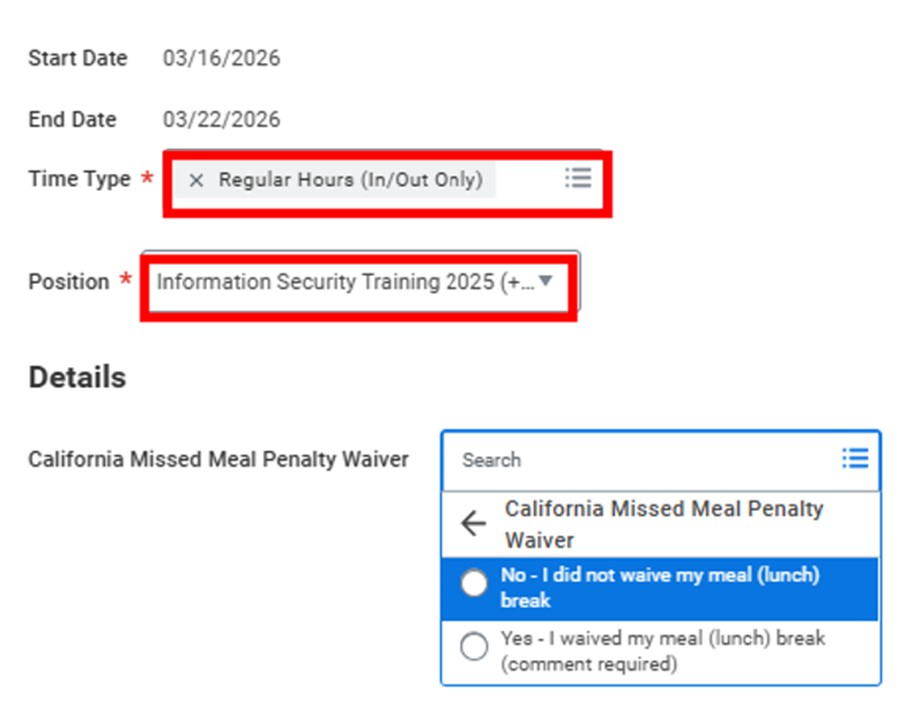
- If working greater than 5 hours but less than 6 hours in a day, click the drop-down and select the appropriate California Missed Meal Penalty Waiver.
- Click OK. The time entry will appear in your calendar with a status of “Not Submitted.” Continue entering time for the week.
- Click Review and Submit at the end of the pay period. The entry will be sent to your manager for approval.
QUICK ADD TIME
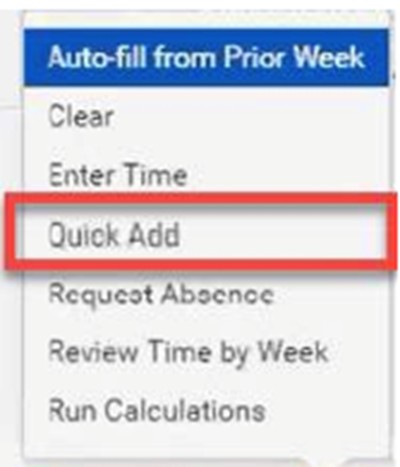
In the upper right-hand corner of the screen, click the ‘Actions’ dropdown menu. You will see Enter Time option that provides several shortcuts for entering and viewing your time. Most of these options are self-explanatory. Here, we will demonstrate how to use the ‘Quick Add’ option.
- Click the Time Type dropdown and select the Time Entry Code. Note: You may need to click the dropdown menu under ‘Position’ when entering the job, you worked.
- If working greater than 5 hours but less than 6 hours in a day, click the drop-down and select the appropriate California Missed Meal Penalty Waiver.
- Click Next.
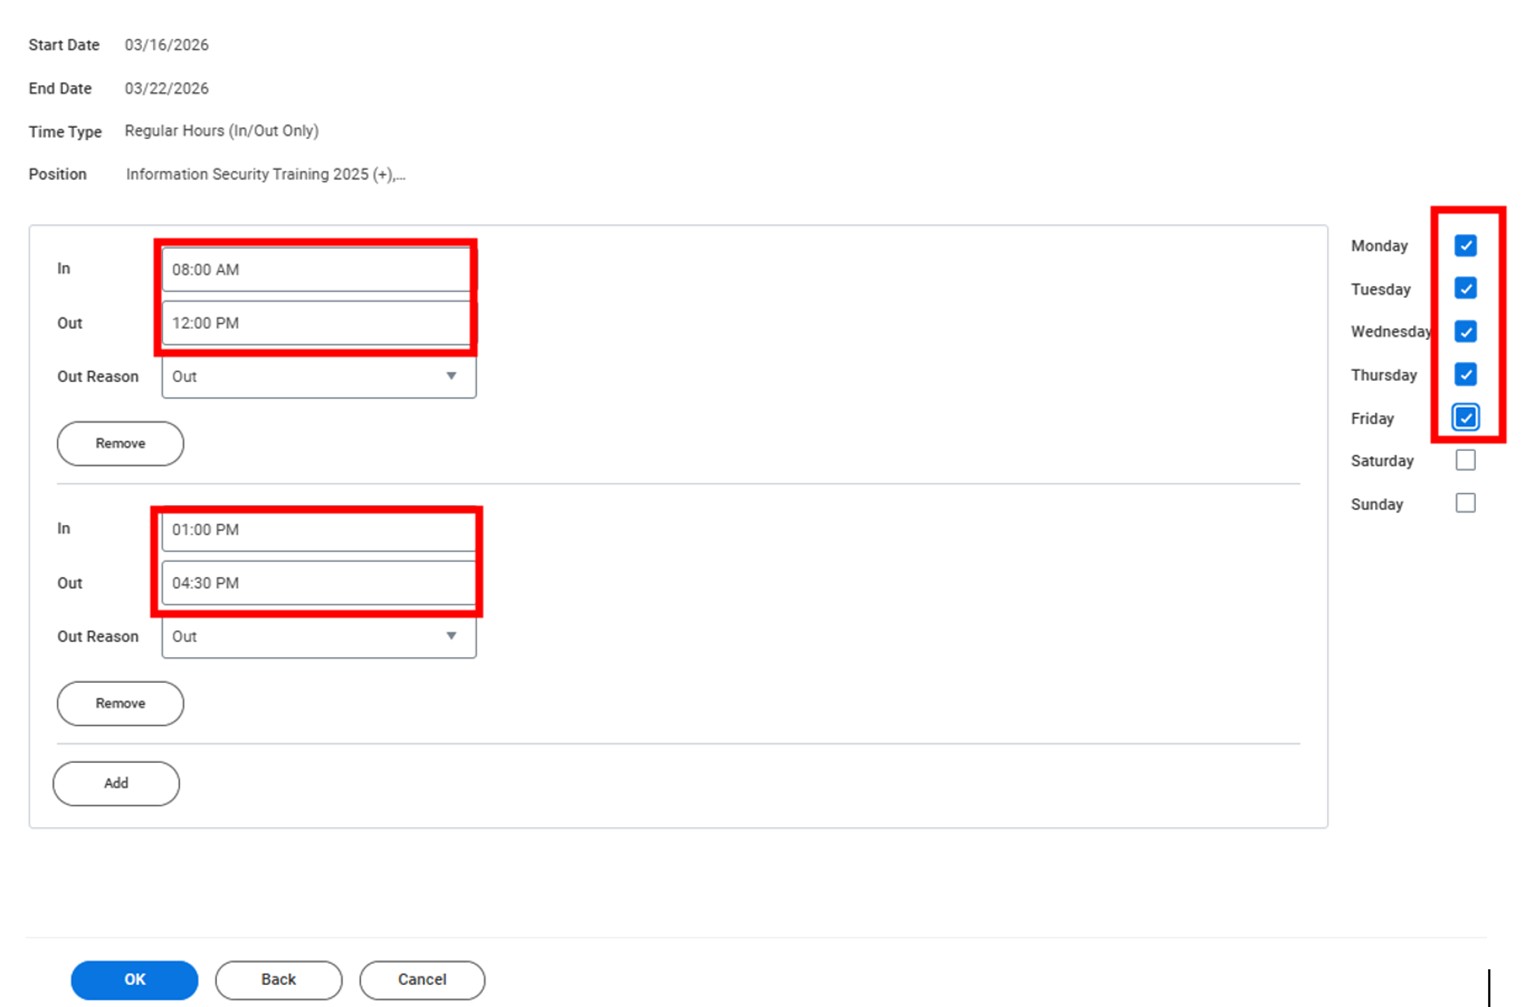
- Enter the In and Out times for each time you begin and end work including in and out for lunch breaks. Enter in and out for lunch, then enter time back in from lunch and out for the day.
- Select the days to which the hours apply.
- Click Ok. The time entry will appear in your calendar with a status of Not Submitted. Continue entering time for the week.
- Click Review and Submit at the end of the pay period. The entry will be sent to your manager for approval.
ENTER TIME FOR MULTIPLE POSITIONS
- Click the day in the calendar for which you would like to enter time. IMPORTANT: If you have multiple positions, you will see Position Field in the Enter Time box. Select the appropriate Position first, as this will auto-populate the Time Type (Time Entry Codes) that you will be able to choose from.
- Select the appropriate Position.
- Click the Time Type prompt and select the appropriate Time Entry Code.
Note: In this example we selected FSW-Student Hourly. If you are eligible for Federal Work Study (FWS) and have a FWS job, you will see an FWS option in the drop-down. Otherwise, you will only see Student Regular Hours. ADJUNCTS: You will choose the Meeting/Required Attendance option and enter ONE hour. - Enter the In and Out times for each time you begin and end work including in and out for lunch breaks. Enter in and out for lunch, then enter time back in from lunch and out for the day.
- If working greater than 5 hours but less than 6 hours in a day, click the drop-down and select the appropriate California Missed Meal Penalty Waiver.
Note: Student Employee time is based on an 8-hour day. If you worked more than 8 hours, enter the total number of hours worked and Workday will automatically calculate the overtime.
Special Note: If you enter more than 25 hours worked in one week, an alert will appear, stating that you are about to exceed 25 weekly hours. You can read the message by clicking the View link. This is for information purposes only, and will not stop you from submitting your time.
- Click OK. The time entry will appear in your calendar with a status of Not Submitted. Continue entering time for the week.
- Click Review and Submit at the end of the pay period. The entry will be sent to your manager for approval.
REPORT PAID TIME USED
In your time calendar, you can report any day or portion of the day that you used accrued/earned paid time. If you previously requested paid time, and this time was approved, you will be able to see this entry in your calendar.
- Click the day in the calendar for which you would like to use absence hours.
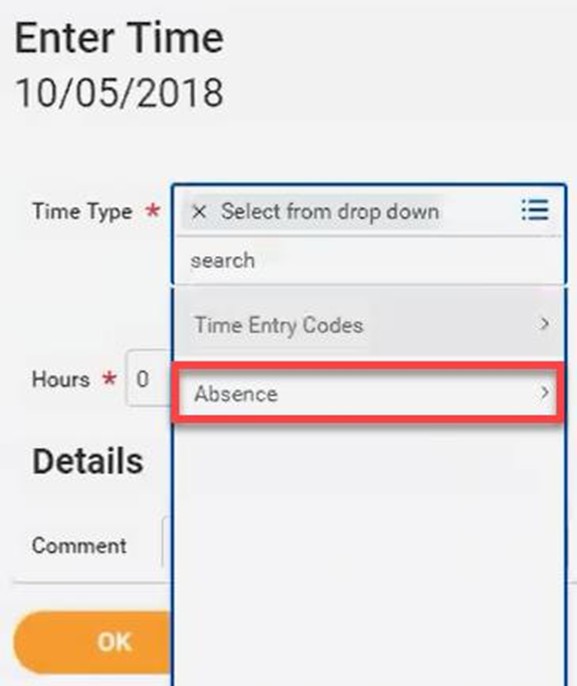
- In the Enter Time box, select the Time Type: Absence (instead of Time Entry Codes).
- Select the appropriate Absence. (In this example, we selected Jury Duty).
- Enter the number of Hours.
- Click OK.
- Click Review and Submit at the end of the pay period. The entry will be sent to your manager for approval.
Note: You will not be able to use paid time that has not already been accrued/earned. An error will prevent you from submitting your time entry.
VIEW/UPDATE YOUR TIME ENTRY
If your time has been previously submitted, and not yet approved, you will be able to make an update to your time-worked entry.
- Click the time entry in the calendar that you would like to edit.
- In the Enter Time box, make necessary edits to the Time Type, Absence Type, or In and Out begin and end times.
- Click OK.
- Click Review and Submit. Your original time-worked entry will be revised and sent to your manager for approval.